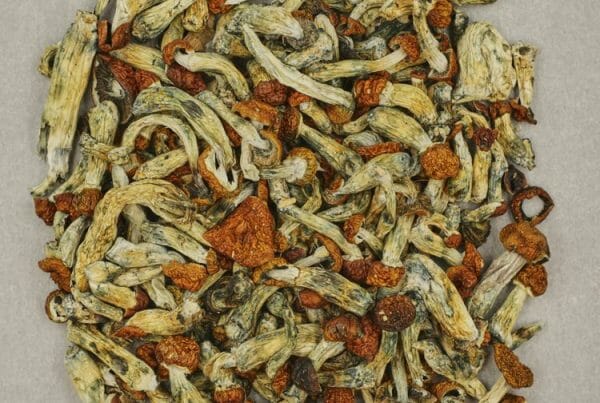
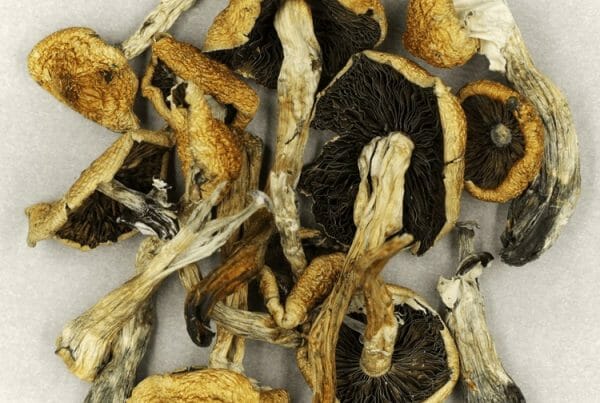
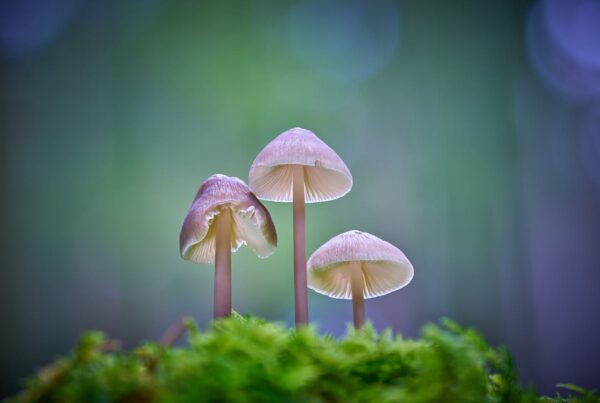
Magic mushrooms, also known as shrooms, are fungi famed for their psychedelic effects on people who ingest them and are known to contain psilocybin as their active agent which is responsible for the effects they elicit.
Table of Contents
Two Groups of Magic Mushrooms
Shrooms or psychedelic fungi fall into two general categories, each characterized by a distinct mix of mind-altering ingredients that make their mushrooms “magic”.
- The largest, most common group produces hallucinogens called psilocybin and psilocin, and features more than 180 species from every continent except Antarctica. These diverse fungi hail from roughly a dozen genera, but are often lumped together as “psilocybin mushrooms.” Most belong to the genus Psilocybe, including well-known species like P. cubensis (“gold top”) and P. semilanceata (“liberty cap”).
- The other group is smaller but has a rich history of religious use. It consists of one iconic species — Amanita muscaria (“fly agaric”) — plus a few less famous relatives like A. pantherina (“panther cap”). Instead of psilocybin or psilocin, its main hallucinogens are chemicals known as muscimol and ibotenic acid.
Best Species of Shrooms for Cultivation
It is important to note that the species of magic mushrooms used in a particular environment and under the influence of weather and other conditions will determine the potency and effect of psilocybin produced. Hence the need to know what species best suit the cultivator’s environment.
Though there are many different types of psilocybin mushroom, the Psilocybe cubensis mushroom species is probably the most popular, particularly for growing. It grows naturally in areas of most of the continent. They are so popular for home growing because they are resilient and self-reliant. Within the cubensis species, some specific strains have earned reputations as being particularly easy to grow, making them more sought after than others. These are the B+ and the Golden Teacher strain.
While other strains may contain more amounts of psilocybin, they do not do well indoors hence should not be considered for cultivation at home but can be harvested in their natural habitat as they tend to grow in large clumps.
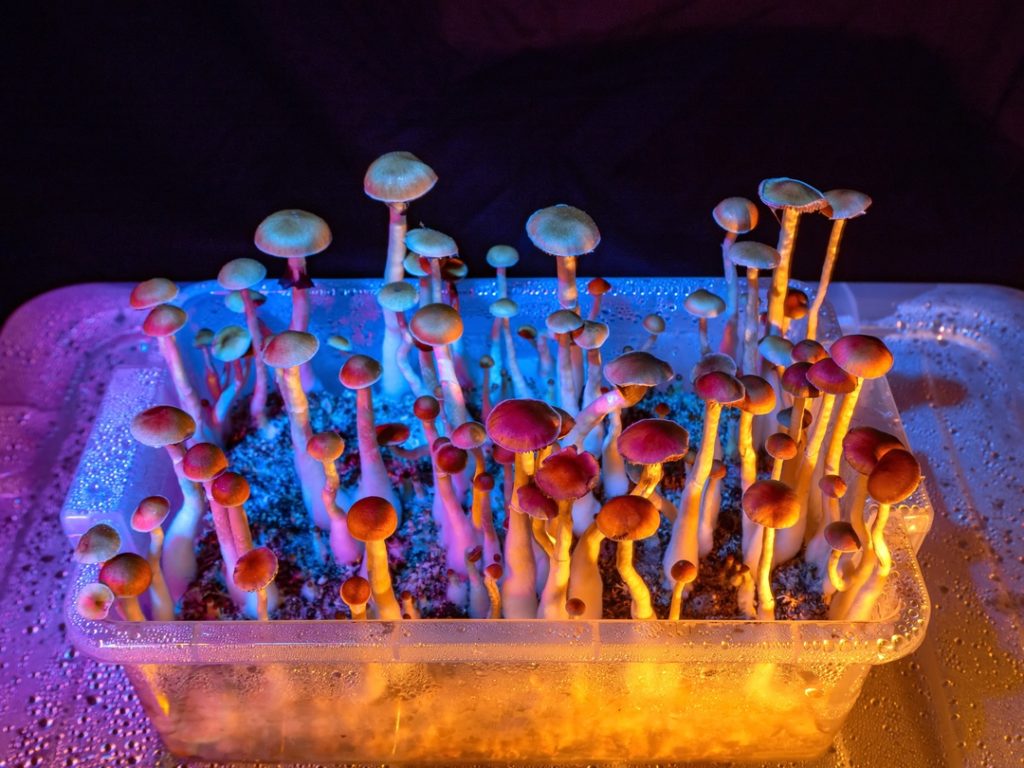
Growing and Cultivating Shrooms
To grow Shrooms optimally, there is a need to mimic their natural habitats the best way you can, hence the need to:
- Keep in shady places: In their natural habitat in the wild, mushrooms are often seen under large trees and in musty areas. They are not plants and do not follow the rules of photosynthesis, hence they should not be considered as a plant but be nurtured as the large fungi which they are.
- Avoid contaminants: Most shrooms grow on debris and waste material, so care should be taken to provide the similitude of this without exposing the shrooms to contamination as one contaminant can spoil your entire grow.
- Nutrient requirements: Although it’s safer to grow indoors using the PF-Tek or coffee grounds method, shrooms can be grown on normal gardening soils as they contain all the nutrients required but they must be grown in the shade, hygienically (which is quite hard outdoors) and doesn’t require constant watering.
- Use of growing kits: This is to create the purest environment with the right conditions for shrooms to grow optimally. They contain mycelium and a grow box which makes growing of shrooms very easy for the cultivators. There is still a risk however of contamination, lack of consistency, and purchase of fake products which will affect the resultant products, hence the need to be cautious and careful.
- The alternative: Though more stressful and demanding, an alternative to using kits is growing your shrooms from scratch. To do this, there is a need to assemble all materials needed as well as get a suitable growth environment for your shrooms, being versed in their growth requirements and adherring to every one of them.
The PF-Tek Method
Robert “Psilocybe Fanaticus” McPherson’s eponymous PF Tek is the method that revolutionized growing mushrooms indoors and the easiest to utilize. It tries to mimic the natural growth conditions of the mushrooms and is simple, with relatively low cost, reliable, and requires less labor than other methods. It is a six-step process that is easy to follow.
Ingredients required
- Spore syringe, 10-12 cc
- Organic brown rice flour
- Vermiculite, medium/fine
- Drinking water
Step 1: Preparation
- Prepare jars: Using a hammer and nail, punch four evenly spaced holes through the jars determining the spacing using the circumference of the jars.
- Prepare substrate: For each jar, thoroughly combine ⅔ cup vermiculite and ¼ cup water in the mixing bowl. Remove excess water from the mixture using a disinfected strainer then add ¼ cup brown rice flour per half-pint jar to the bowl and combine with the moist vermiculite.
- Fill jars: Be careful not to cover the jars too tightly as you pour in the substrate then after it is filled up, use the vermiculite as a sealant and disinfect the top with alcohol. Tightly screw on the lids and cover the jars with tin foil. Secure the edges of the foil around the sides of the jars to prevent water and condensation from getting through the holes.
- Place small towels or paper towels into a large pot and put the jars into the pot filling it with boiling water. Leave to stand for 70-90minutes after which you can remove the jars.
- Allow to cool: After steaming, leave the foil-covered jars in the pot for several hours or overnight. They need to be at room temperature before the next step.
Step 1 is the major step in this procedure. Other steps are:
Step 2: Inoculation
Using a sterilized syringe, introduce the spores into the jar using the holes you drilled initially. You should make sure the syringe goes as far as it can.
Step 3: Colonization
Place your jars out of the way and away from direct sunlight, after about 14 days you will notice the growth of white widespread mycelium. This indicates proper growth. You should also check for the growth of contaminants.
After this wait for another seven days to make sure the mycelium is well consolidated on the growth medium.
Step 4: Preparing The Grow Chamber
Take your plastic containers for storage and drill holes two inches apart all over the sides, base and lid, then add perlite to the base of your container until every inch is covered.
Step 5: Fruiting
Open the jars and remove the colonized substrate from each, taking care not to damage the colonies made. Rinse with tepid water to remove any loosely attached vermiculite.
Then you should soak in a large pot to rehydrate for about ten minutes, after which you can remove and roll in vermiculite to fully encase. You can then transfer to your growth chamber and gently mist the chamber with spray.
Step 6: Harvesting
The mushroom cakes or substrates will first appear as bumps and later after roughly six days appear as pins which will signify that they are ready for harvest. Remove as soon as the mature by cutting close to the cake. Do not delay because they lose potency as they mature.
How to Store Magic Mushrooms
Shrooms tend to go bad quickly after harvesting, so you will need to store them up in cool and dry places or process them immediately after harvest. The best method, however, is to use them immediately after harvest to exploit their potency and efficacy.
We provide the best and most popular species of shrooms and are a trustworthy outlet for related products. Zoomies will make your patronage worth your while if you give us a trial.

